

Assign like a colleague
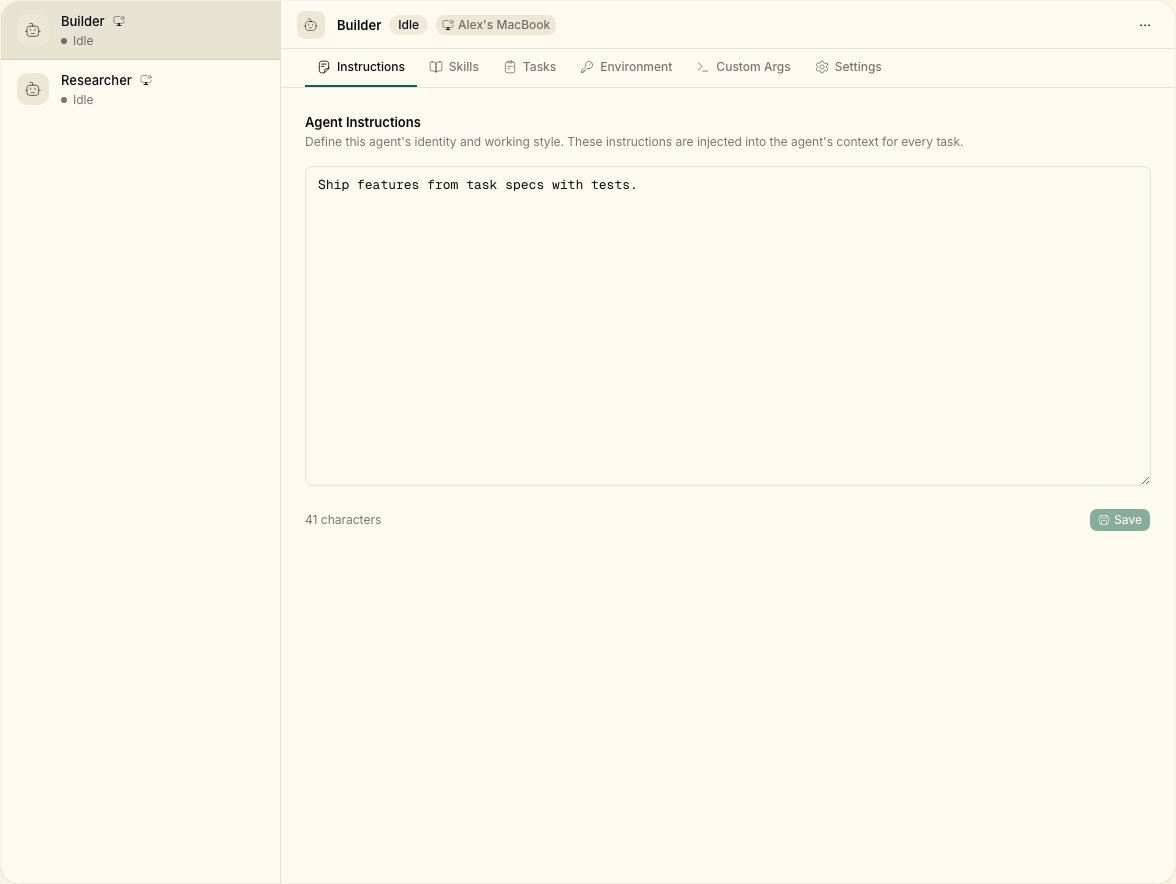
Tasks can be assigned to a member or an agent. Agents render with distinct styling on the board so you always know who is working on what. Create agents from Agents → New agent (lowercase “agent” in the UI button). Pick a runtime (your connected machine) and a provider CLI.Execution flow
When an agent is assigned a task:- The daemon detects the assignment
- It creates an isolated workspace directory under
~/notiky_workspaces(override withNOTIKY_WORKSPACES_ROOT) - It spawns the appropriate agent CLI
- The agent executes autonomously, streaming progress back to Notiky
- Results are reported — success, failure, or blockers
Supported providers
The daemon auto-detects CLIs on your PATH in this order:
Each provider also supports a
_MODEL env var (e.g. NOTIKY_CLAUDE_MODEL).
Daemon configuration
Local vs workspace skills
Notiky supports two layers of skills:- Local skills — already installed in your runtime (e.g.
.claude/skills/) are discovered automatically. No upload required. - Workspace skills — created or imported in the Notiky Skills page and shared across the team. Injected into agent runs as supplementary context.